Plying Lesson: Make Your Fabrics Soar!


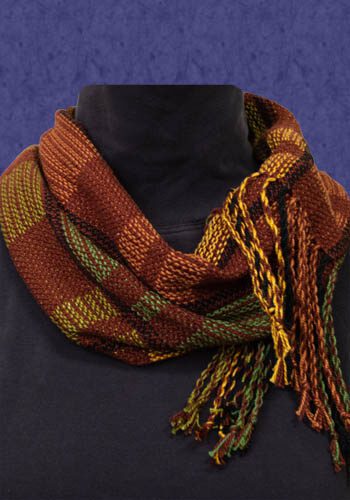
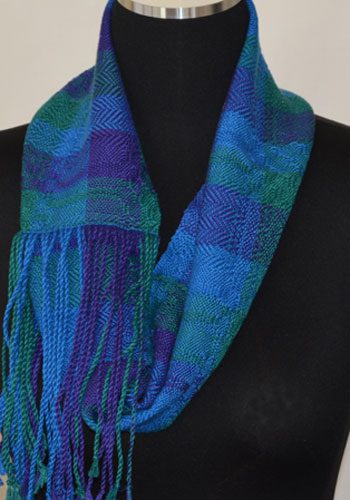
Fringe can add an extra style element to your garments, handbags, scarves or just about anything that needs a little extra zing! Plus, when you twist or ply the fringe, the fringe will be more durable and look nice for a long time, even with many washings of your handwoven treasures. We use plied fringe on most of our woven items that include fringe. We have been asked a lot of times recently about how to ply fringe, and we wanted to share some tricks and tips to twist or ply fringe using a fringe twister or by hand.
First, even up the ends of the fringe.
No matter what kind of treatment you are going to give your fringe, you will want the fringe to be even. Our favorite method to create even fringe is to cut the ends using a rotary cutter. This is a quick and easy way to cut your fringe to one length with just the flick of your wrist. If you don’t have a rotary cutter and mat, you can use scissors.
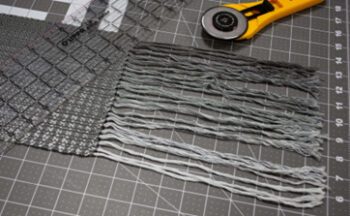
Step 1. Put your woven piece on a self-healing cutting mat and line the end of the fabric along a line on the cutting mat.
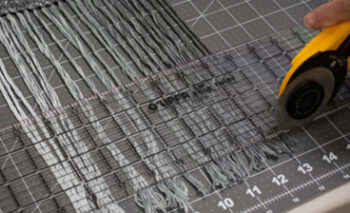
Step 2. Using a straight edge, held down firmly to prevent slipping and a sharp rotary cutter, cut a clean, straight line at the length you want you fringe to be.
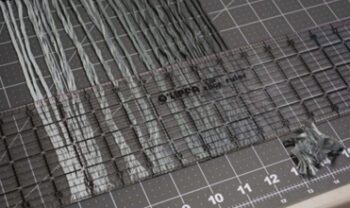
Step 3. Holding the ruler in place, scrape away the cut fringe, checking for any strands that did not get cut. If you find any of those, recut while the ruler is still in place. If you don’t have a rotary cutter, you can put your piece at the end of a table, lining up the piece parallel to the edge of the table, and use your scissors to cut along the edge of the table for a nice straight cut line.
Ready, Set, Ply!
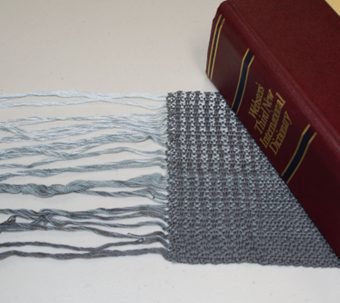 After your fringe is cut evenly, weigh down the fabric with a large book, a brick or other weight so you can pull on the ends without the fabric moving.
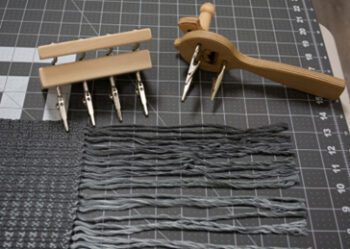 You can twist the fringe by hand, or you can use a fringe twister. Ashford and Schacht both make very nice fringe twisters. Ashford’s fringe twister has 4 clips, and Schacht’s fringe twister has 3 clips. With either of these twisters, you can use as many of the clips at a time as you want.
If you have an Ashford 4-clip fringe twister, you can go twice as fast. Clip your fringe into all 4 clips and rotate the handle the desired number of twists. When you are ready to ply the strands, unclip two strands and ply them together and knot. Then unclip the other two strands and ply them together and knot. Ta-da! Two sets of plied fringe in half the time! You can also make 3-ply or 4-ply fringe. The thickness of the fringe bundles is proportional to the number of plies in your fringe. And the more plies you have in your fringe, the rounder the resulting fringe will be.
One nice feature of the Schacht fringe twister is the large, flat handle. It is convenient to hold, and, as an added bonus, if you are sitting to twist your fringe, the handle slides nicely between your knees and allows you to keep the twister handy when you take the twisted fringe off the clips. It reduces the amount of time I spend looking for the twister between fringe bouts.
Once you have cut your fringe, you are ready to twist the fringe.
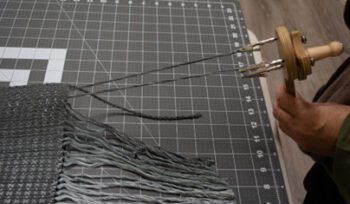
Step 1. Choose your fringe twister or choose which set of hands you are going to use to twist your fringe. Preferably your sister’s or husband’s hands (giggle). Pick two bundles and attach to the clips of the fringe twister.
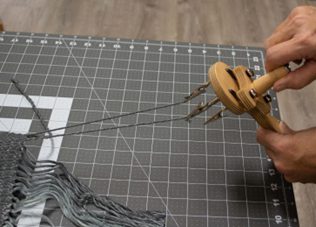
Step 2. Holding the fringe taut, turn the handle of the fringe twister the desired number of times. This is my favorite part of using a fringe twister: you can twist a set number of turns on each bundle, and the fringe looks nice and uniform when you are done. You can also count while twisting by hand.
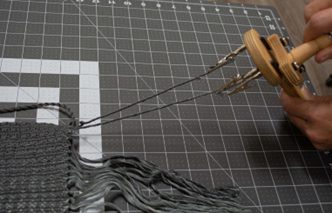
Step 3. Turn the handle until the fringe bundles start to double back on itself when you remove some of the tension from the bundles.
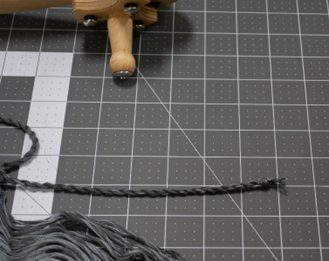
Step 4. When you have enough twist in the bundles, remove the fringe from the clips and hold onto each twisted strand. Hold the strands together and tie and overhand knot near the end of the fringe bundle. This attaches the two bundles together. Now loosen your hold on the fringe bundle, and the bundle will twist back the other way. If everything worked right, you should have a lovely piece of twisted fringe. Repeat the process across the warp. Remember to twist each bundle using the same number of turns.
If you are not using a fringe twister, you will use all the same motions that we just described. You will twist each of the two fringe bundles, tie the two bundles together with an overhand knot, and then allow the bundles to back twist on themselves. When you twist the fringe bundles, you will need to twist the fringe bundle in one hand, and then twist the other fringe bundle while holding the other already twisted fringe bundle. You need to prevent that added twist from escaping from the first bundle while you are twisting the second bundle. This is what slows me down while I am twisting fringe by hand.
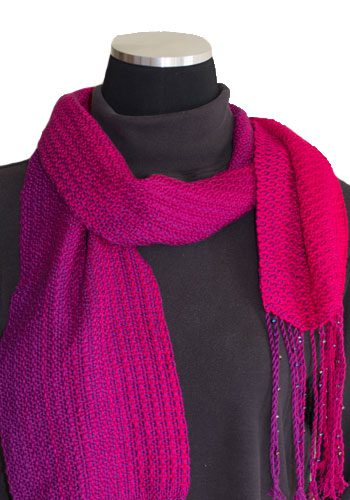
We hope you make many beautiful fringed handwoven items!
