Invisible Join for Repp Filler Yarn – Blog Post
Written by Michele Belson
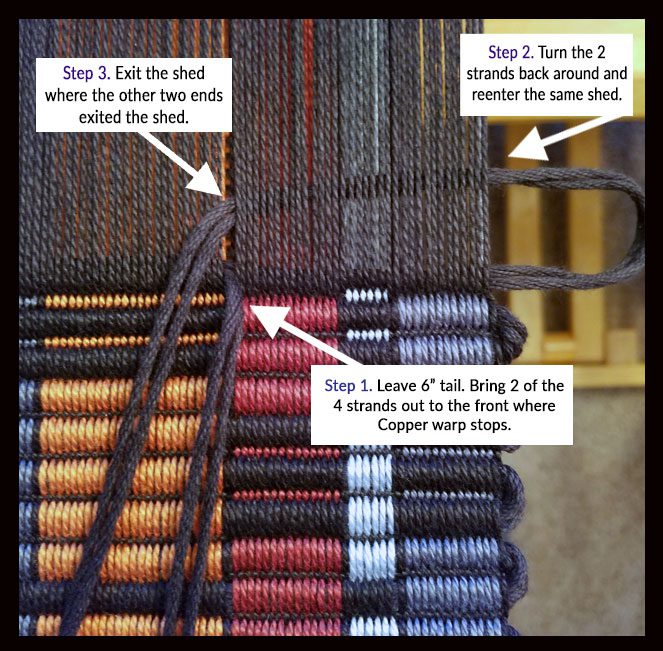
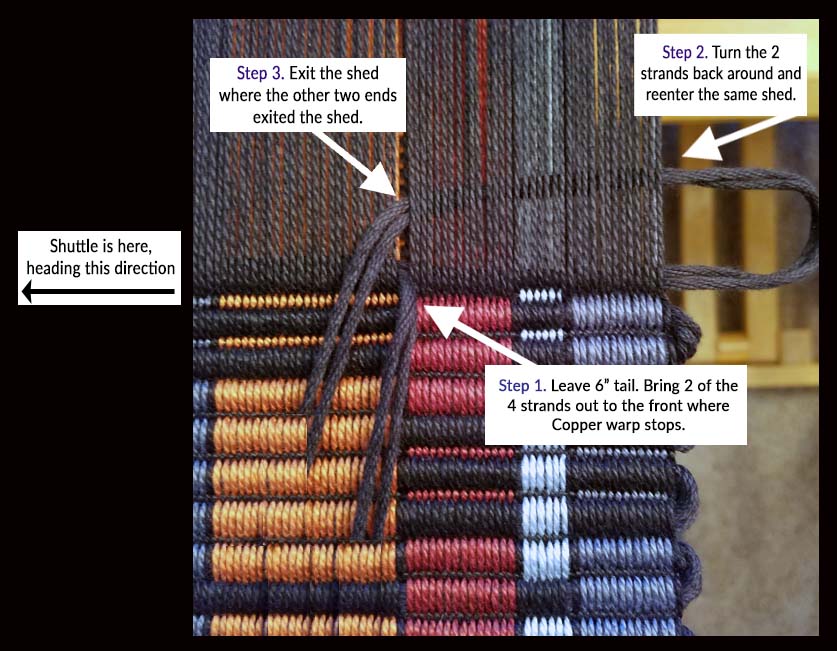
In the Metamorphic Placemat Kit, Cynthia Newman describes a nice way to begin and end 4 strands of 8/16 thick repp filler. We recently had a question about this technique and the picture in the kit, and we wanted to clarify and share this technique.
Original Pictures
Here is the original picture from Cynthia that is in the Placemat Kit, and then a slightly updated picture on the left which shows where the shuttle is located in the picture:
Step-by-step
And here are some step-by-step instructions for starting a shuttle full of 4 strands of 8/16 repp filler yarn. For these pictures, the warp is 5/2 yarn set up for mug rugs that we are using to weave samples for the Ya Gotta Be Warped to Weave class. It was the perfect warp to demonstrate how to have an almost invisible join for 4-strand thick repp filler yarn. You can use this either when you are beginning or ending the yarn.
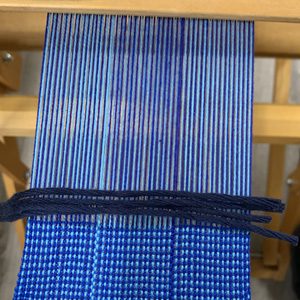
First, lay all 4 ends of the thick weft with the ends on the right and the shuttle on the left.
Then, cut 2 of the 4 strands about 3" shorter than the other 2 strands.
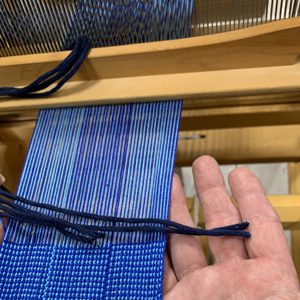
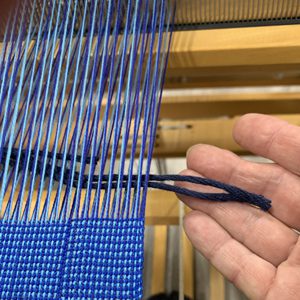
Next, throw the shuttle from right to left through the shed, with the 2 shorter strands about 1.5" inside the shed and with the remaining 2 strands extending about 1.5" past the right selvage.
Then, with the shed still open, bring the 2 strands around the last warp pick on the right. Go back into the shed and poke those two strands into the shed to meet the 2 cut strands. You now have 4 strands all the way across the warp.
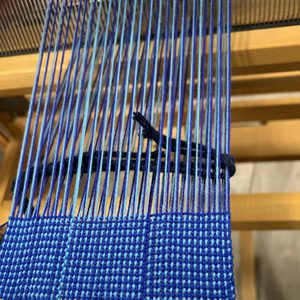
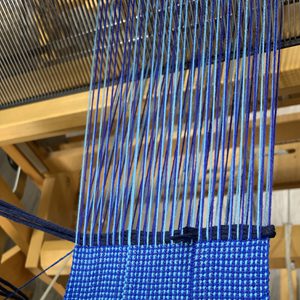
Finally, beat the weft pick in place. The shuttle is on the left waiting for you. After you have woven a couple picks, tidy up the face of your fabric by cutting off any additional thick weft strands that are poking out of the fabric.
This technique can be used any time you have multiple weft threads together. It makes a nice tidy join for those potentially bulky yarns. Thanks Cynthia for the great technique!


